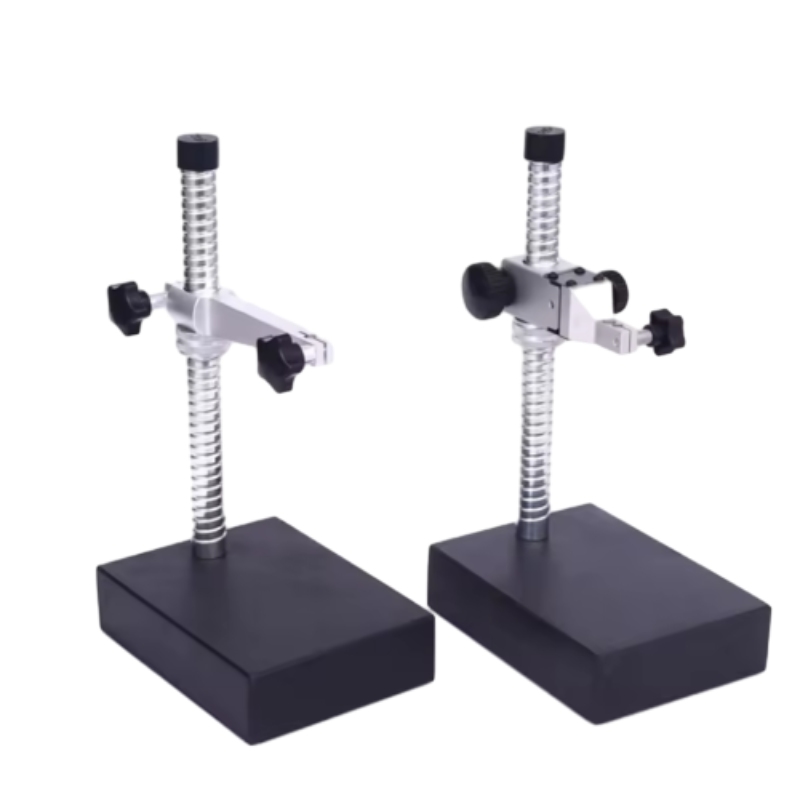
Granite inspection surface plates are the unsung heroes of manufacture. They provide a stable, flat reference plane upon which precise measurement, inspection, and setup are built. Crafted from natural granite, these plates resist wear, damp vibrations, and temperature drift better than most metal alternatives, delivering reliable repeatability in every tool change, jig, fixture, or gauge.

In any shop that treats precision as a daily ritual, a granite surface plate is more than a base; it’s a partner. The monolithic construction, with a scratch-resistant lapped surface, delivers an impeccably flat platform for dial indicators, height gauges, square blocks, and plugin fixtures. It reduces measurement variability, supporting tighter tolerances and faster setup. Across aerospace, automotive, mold making, and electronics, teams depend on granite to create a constant reference as components move through machining, inspection, and assembly.
The advantages go beyond stability. Granite has a very low coefficient of thermal expansion compared to common metals, so short-term temperature fluctuations produce minimal changes in flatness. It also resists magnetic interference and is easy to clean. With surface finishes that meet industry grade standards, such plates come in different classes (AA, A, B) and a variety of sizes—from compact 200 x 200 mm plates to expansive bench-top or floor-standing models. For critical gauges and measuring systems, an AA-grade plate offers the most stringent flatness and parallelism, while B-grade plates still provide excellent value for many routine tasks in busy production lines.
Maintaining a granite surface plate is straightforward: keep it clean, protect it from impacts and chemicals, and avoid placing heat sources directly on the surface. When worn, a professional regrinding and re-lapping can restore a nearly pristine reference plane, extending the life of the equipment and the entire metrology chain. A well-chosen granite plate reduces calibration cycles, lowers the risk of measurement drift, and boosts operator confidence.

In short, a granite inspection surface plate is a quiet guardian of precision—consistent, durable, and ready to support accuracy as production demands evolve. Invest in quality, establish discipline around use and care, and the difference will be clear in every measurement you trust. Choosing the right grade and size is not about luxury but risk management: even a modest plate can save thousands in scrap and rework. Pair it with proper calibration and regular verification, and you build a metrology chain you can trust from prototype to production. Invest in quality granite—a small investment that unlocks consistent, repeatable measurements.
Golden AC generator With multiple core patented technologies and rigorous quality control systems (such as 9001 certification), we have established long-term partnerships with over 300 automotive manufacturers and component suppliers worldwide. Our products are exported to countries such as Europe, America, Southeast Asia, and Africa, with an annual production capacity exceeding 300000 units. We have won market trust with stable delivery and after-sales support.At the core of Storaen (Cangzhou) International Trading Co. portfolio lies its unparalleled expertise in cast iron welding platforms, measuring tools, plug gauges, ring gauges, and valves. These products, crafted with meticulous attention to detail and backed by stringent quality control measures, embody the hallmark of reliability and durability, catering to the diverse needs of industries worldwide.